Week 05 (Apr 28 - May 04)
-
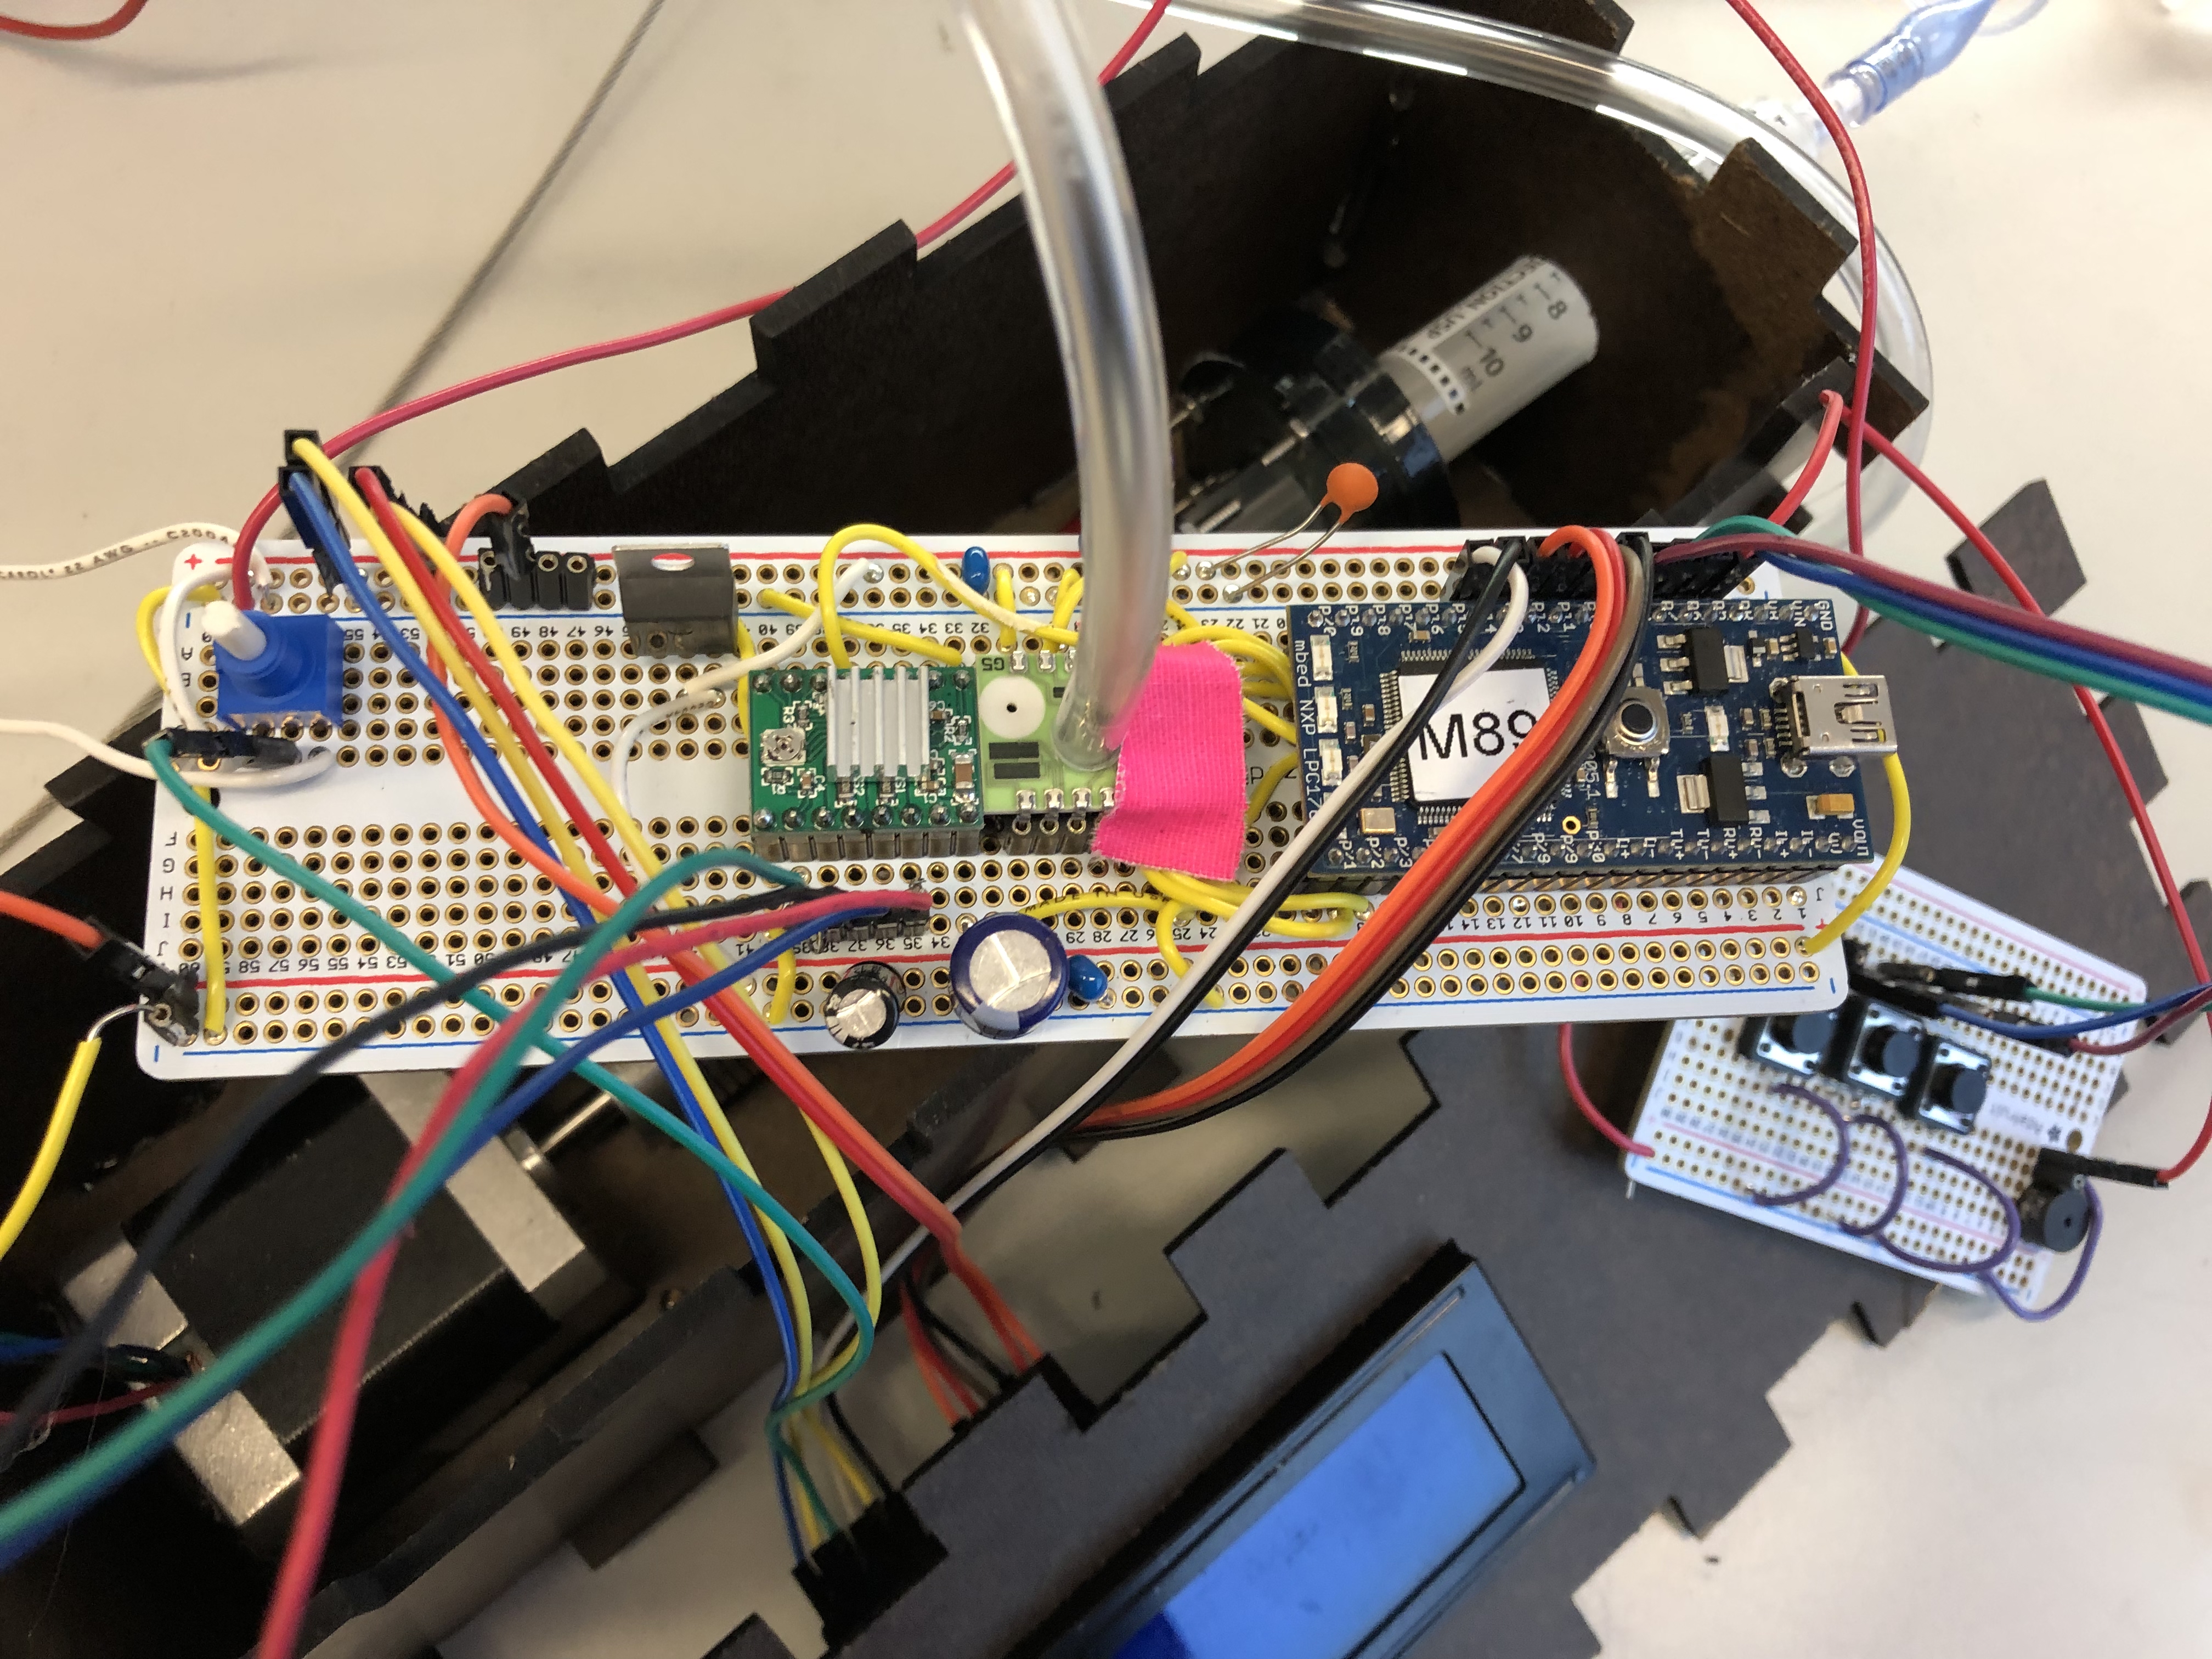
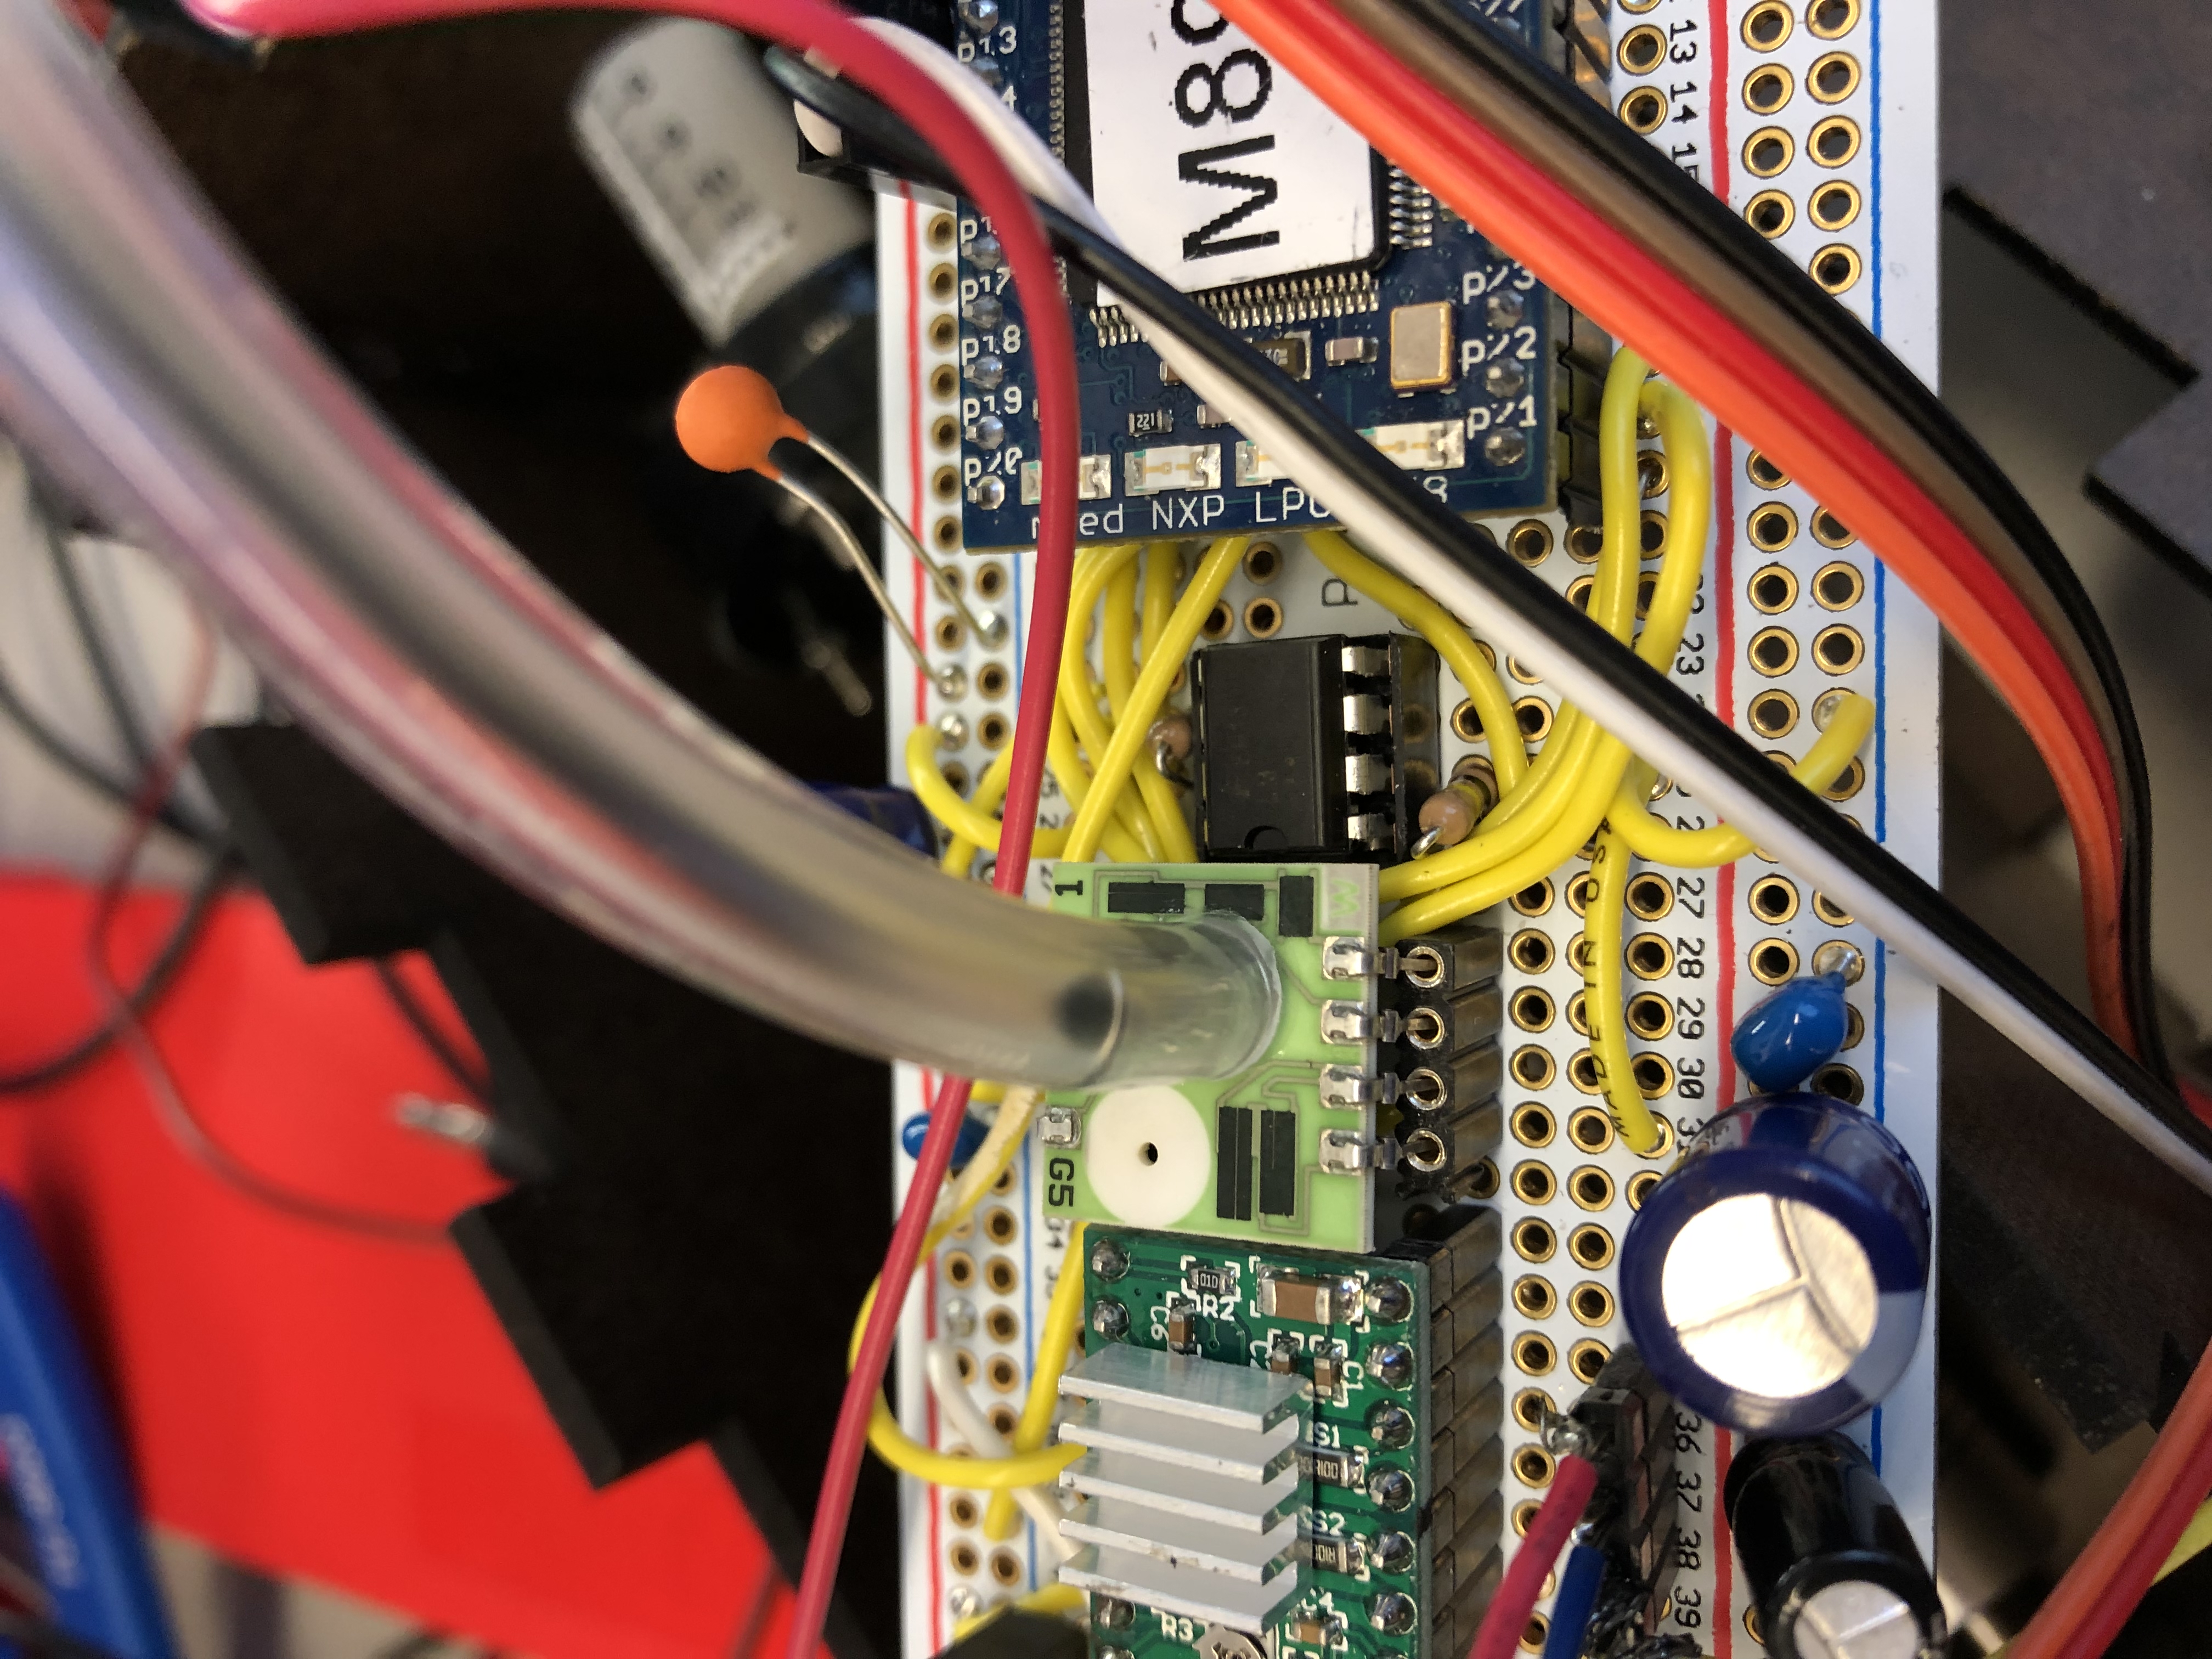
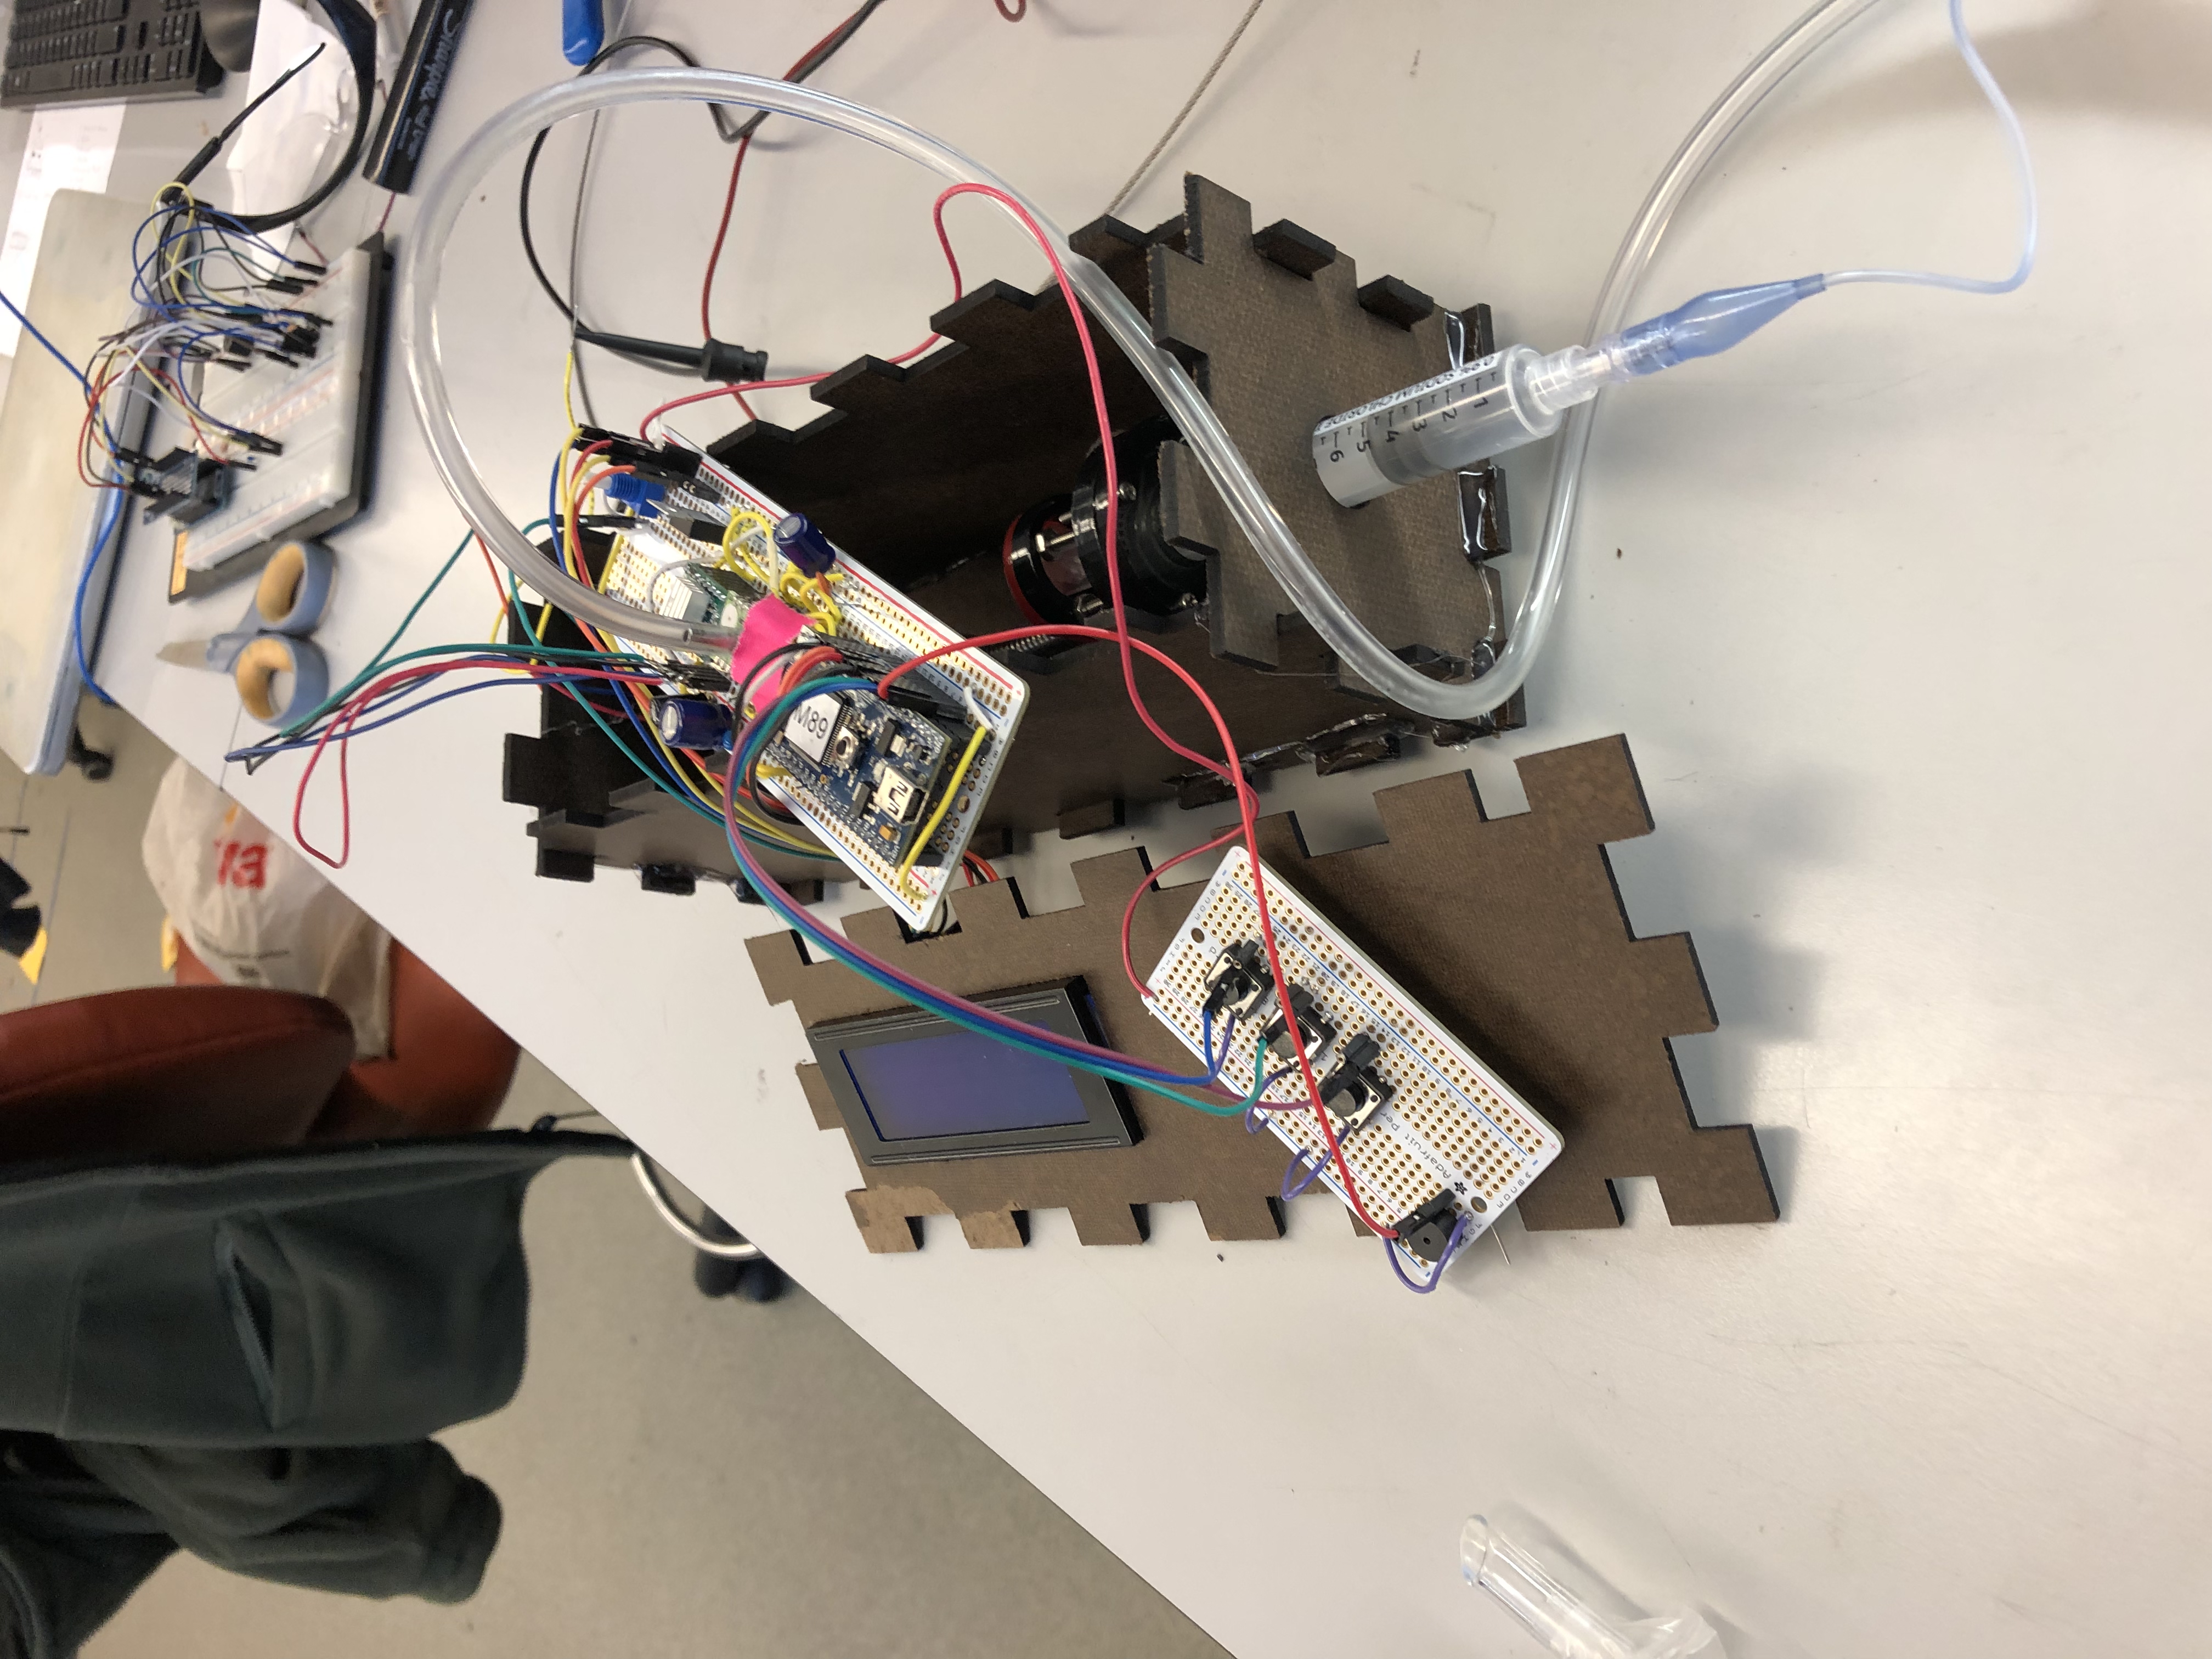
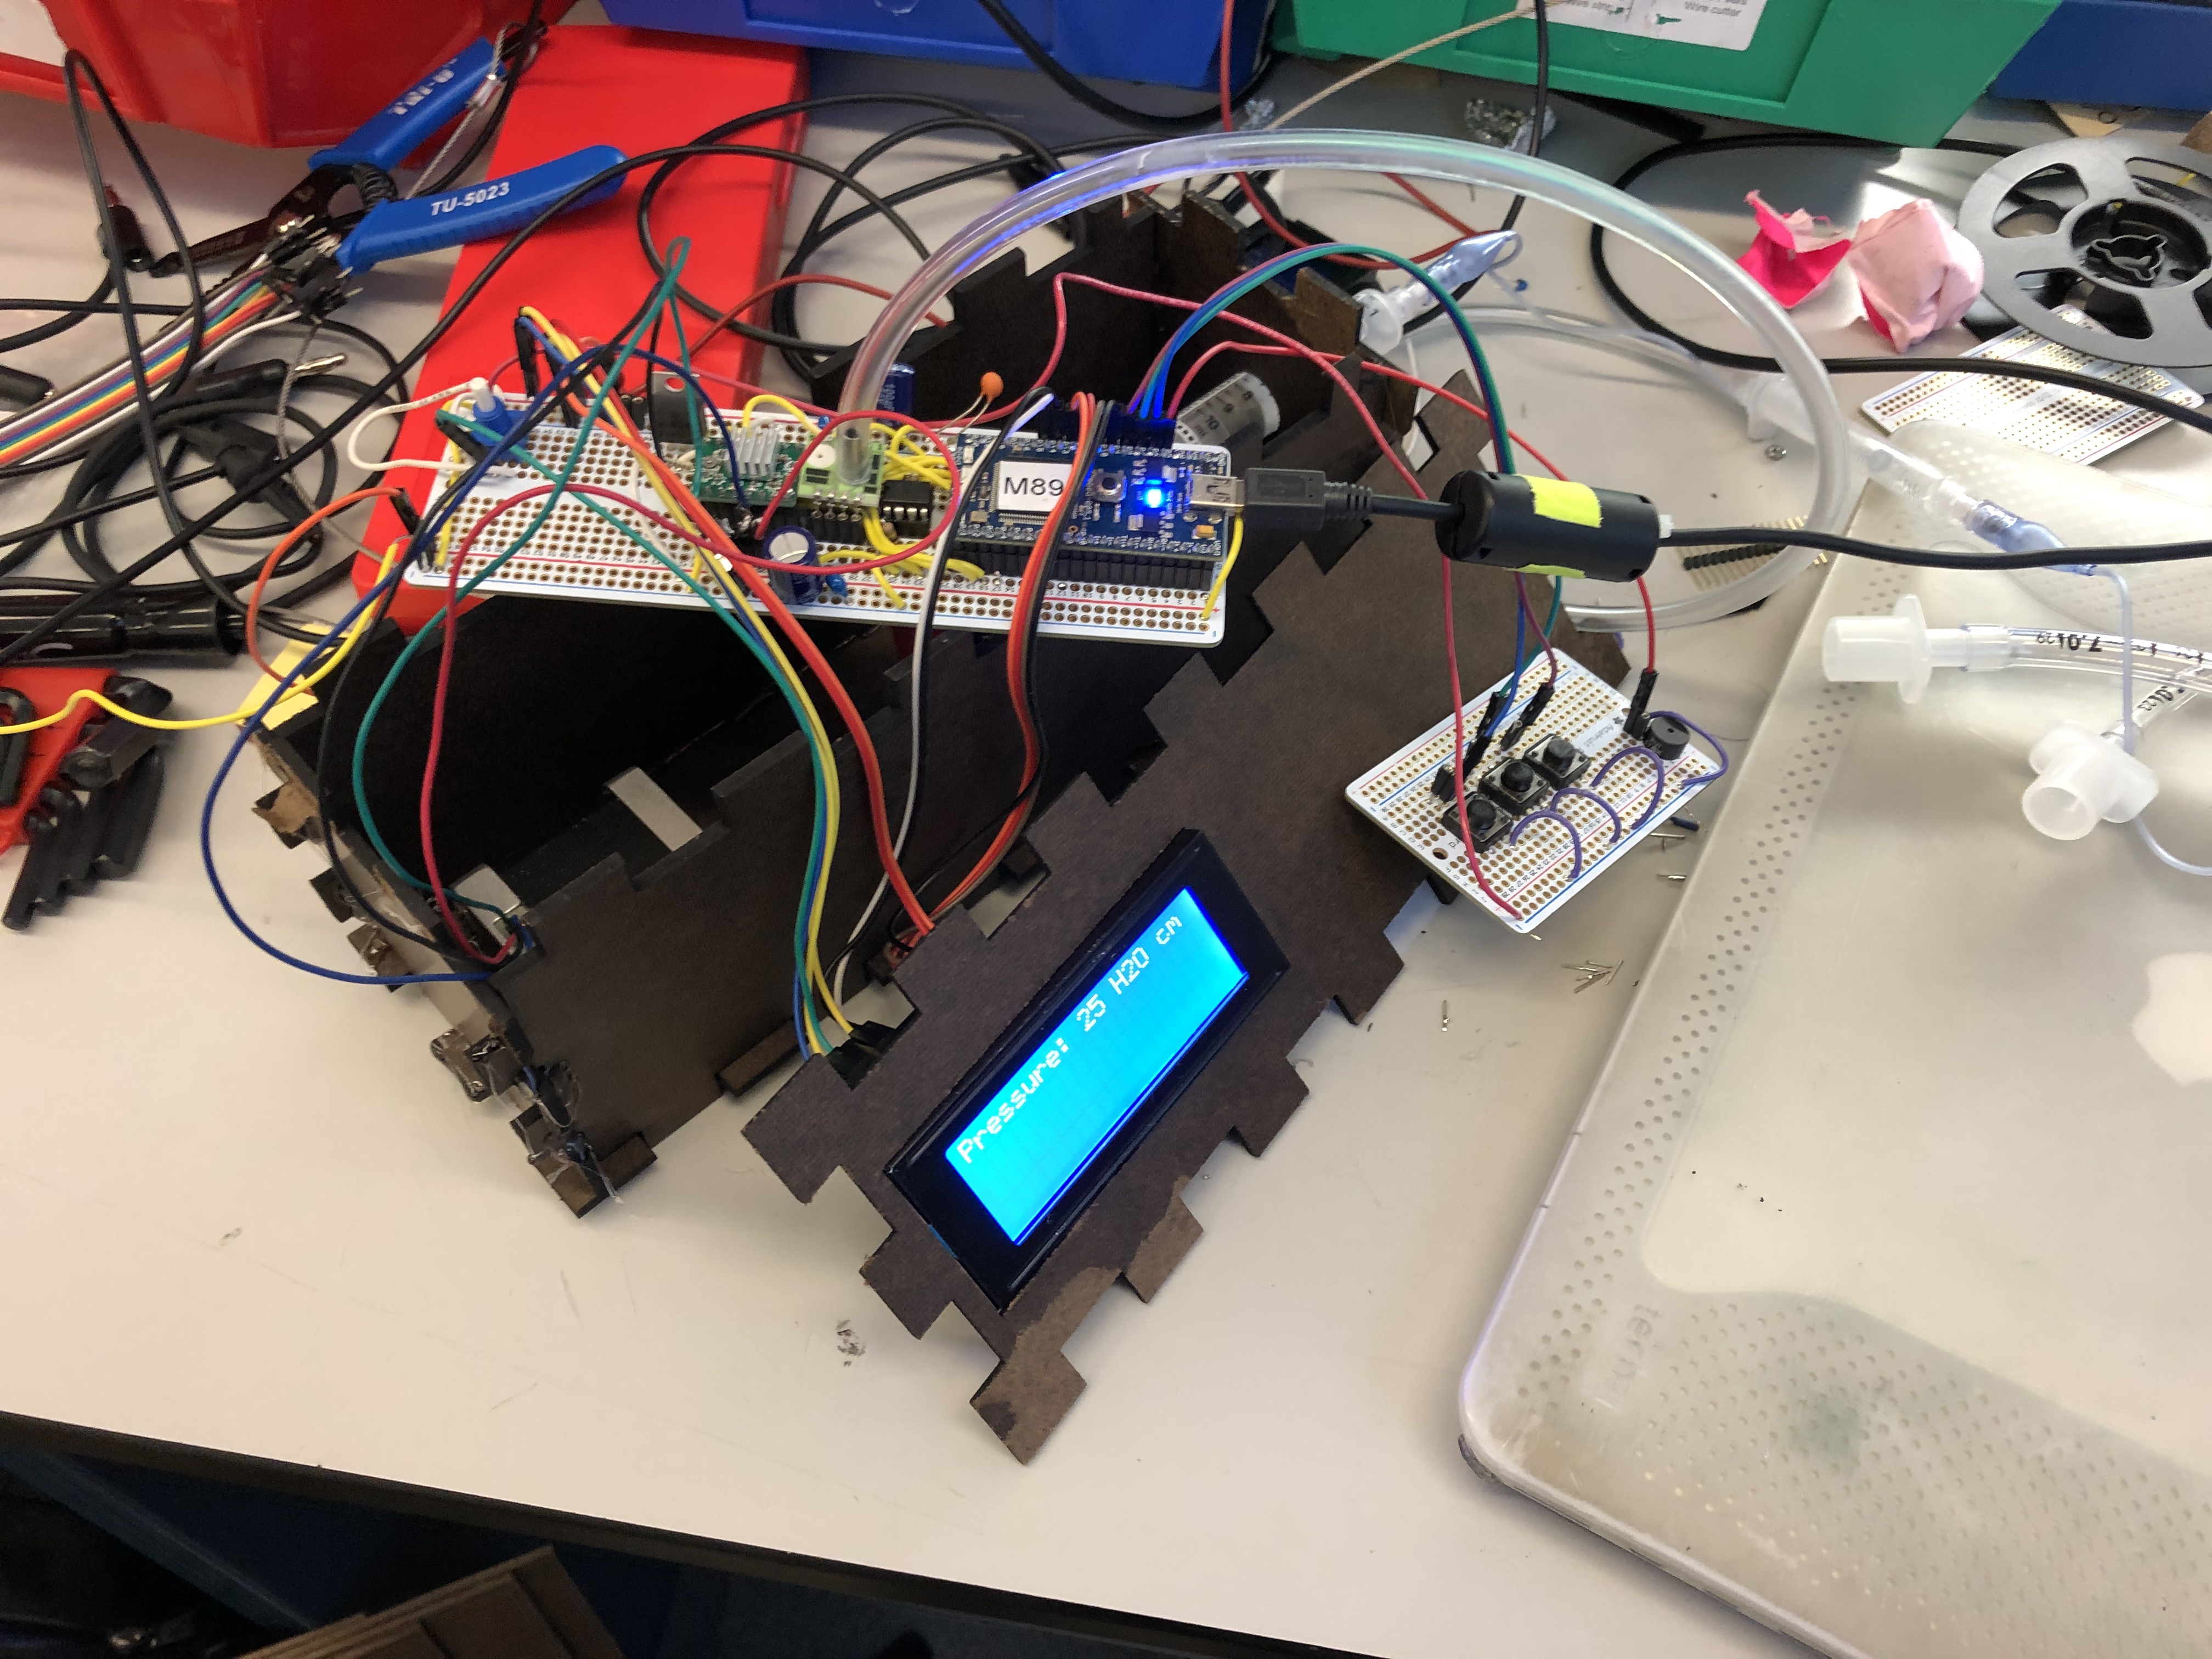
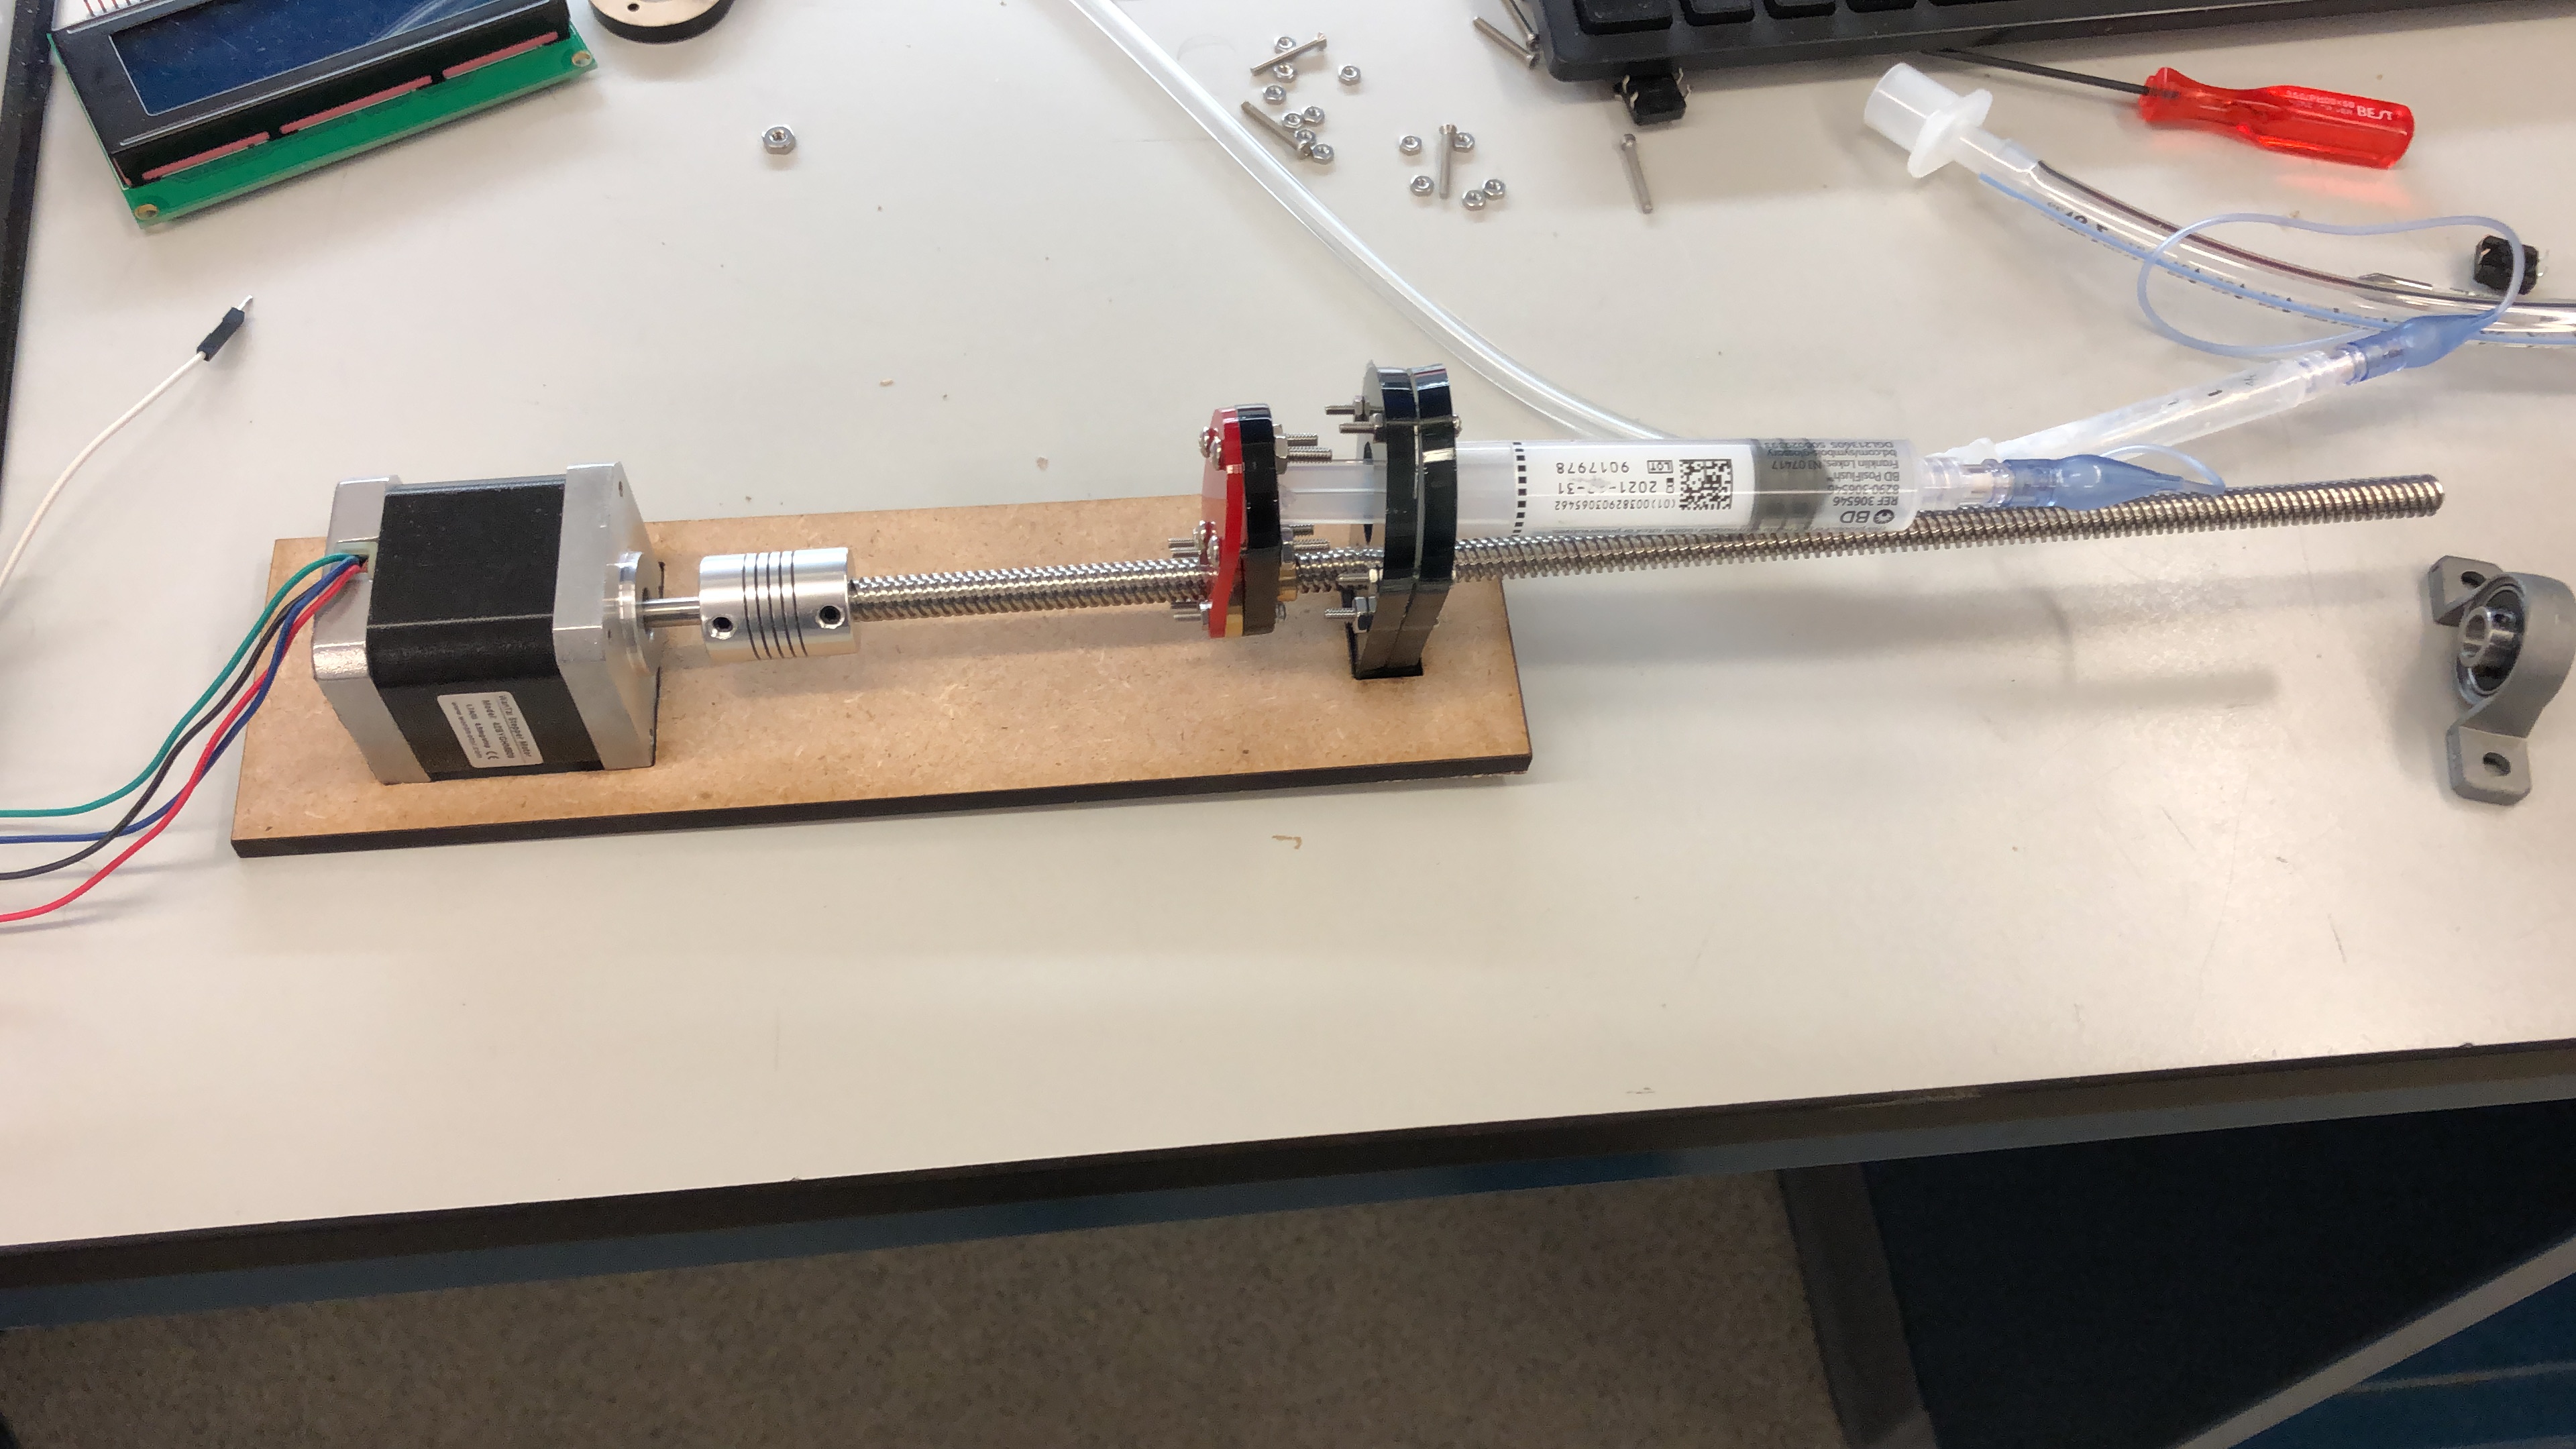
This week we focused on moving from the rough version of the product we had to something presentable and self-contained. We soldered all our components (
 and
and
) leaving behind this mess:
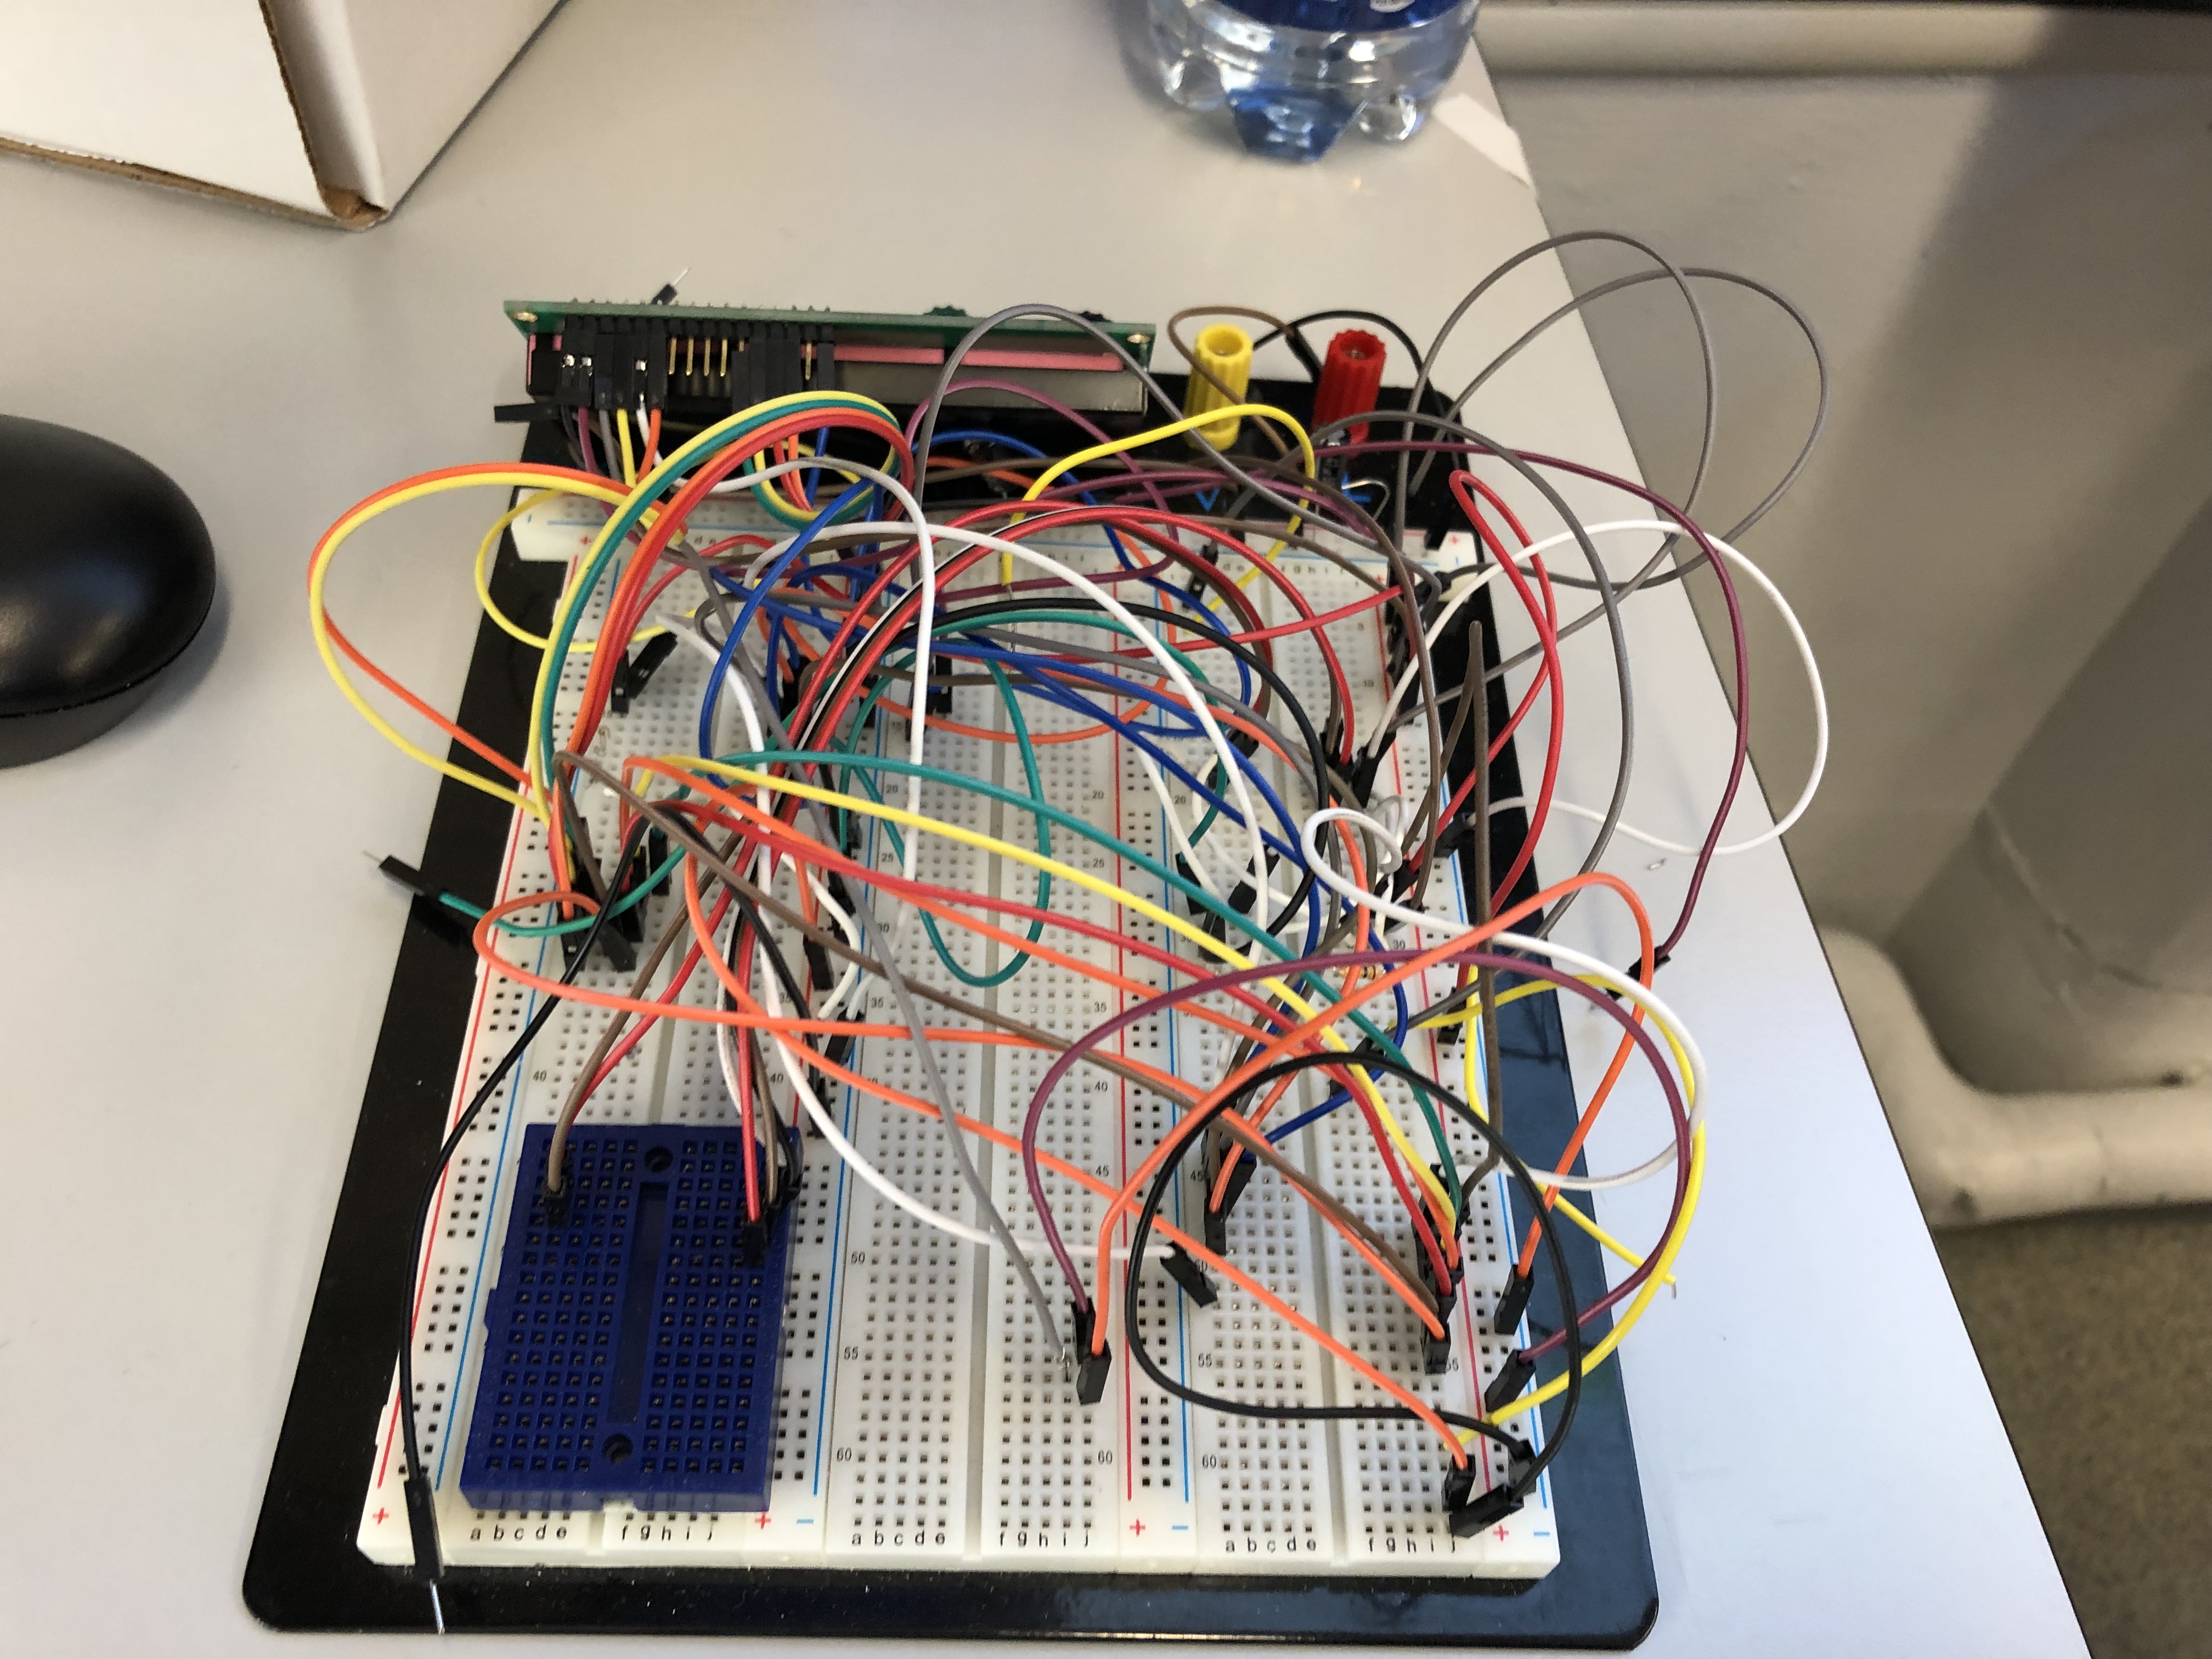 . </li>
 -
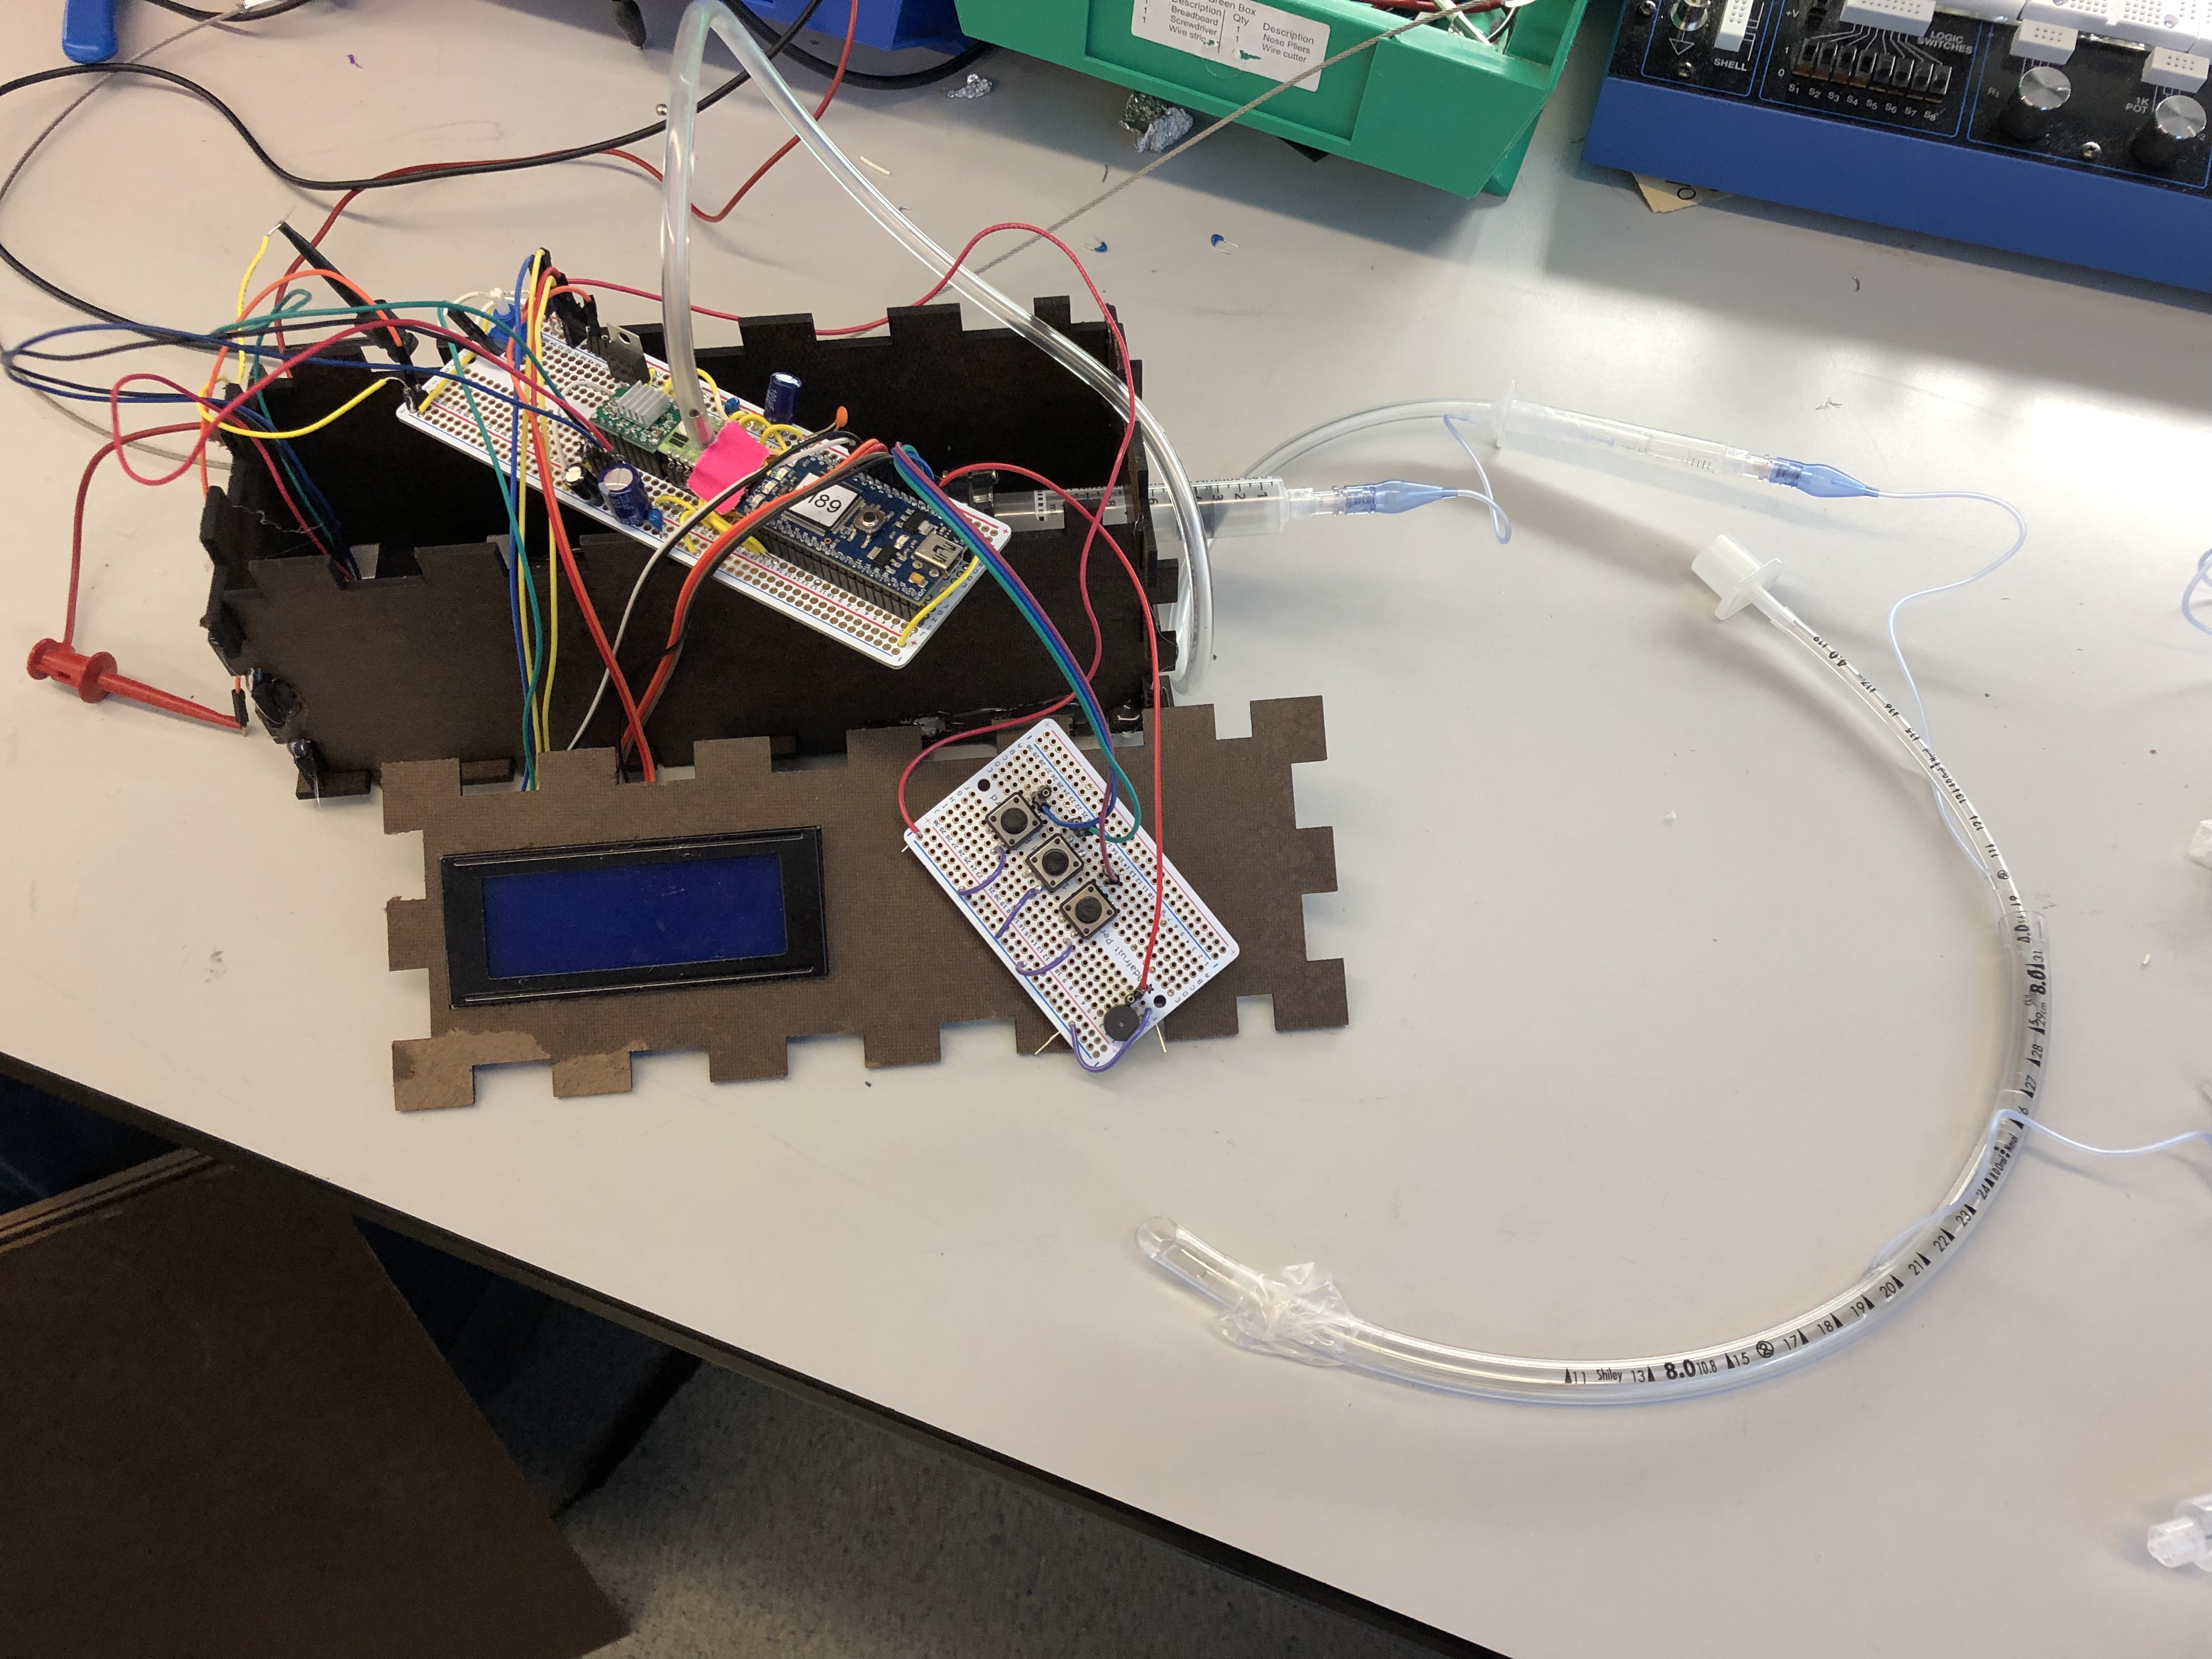
On Wednesday (05/01), we concluded the last portions of the project: designing and laser-cutting a wooden box for containing the device. Putting the sodlered components together with the box and 3d printed components for the motor we obtained our final device–a self contained breathing cuff presure monitor.
-
That same day we demoed our project. Finally the next week, we met with the Doctor and discussed our prototype! We discussed the size limiations, how it works, and where it could go in the future. We met our goals, fulfilling his requirements and had a great time doing it.
 </li>
</ul>
</li>
</ul>
 </li>
</li> .</li>
 </li>
</li>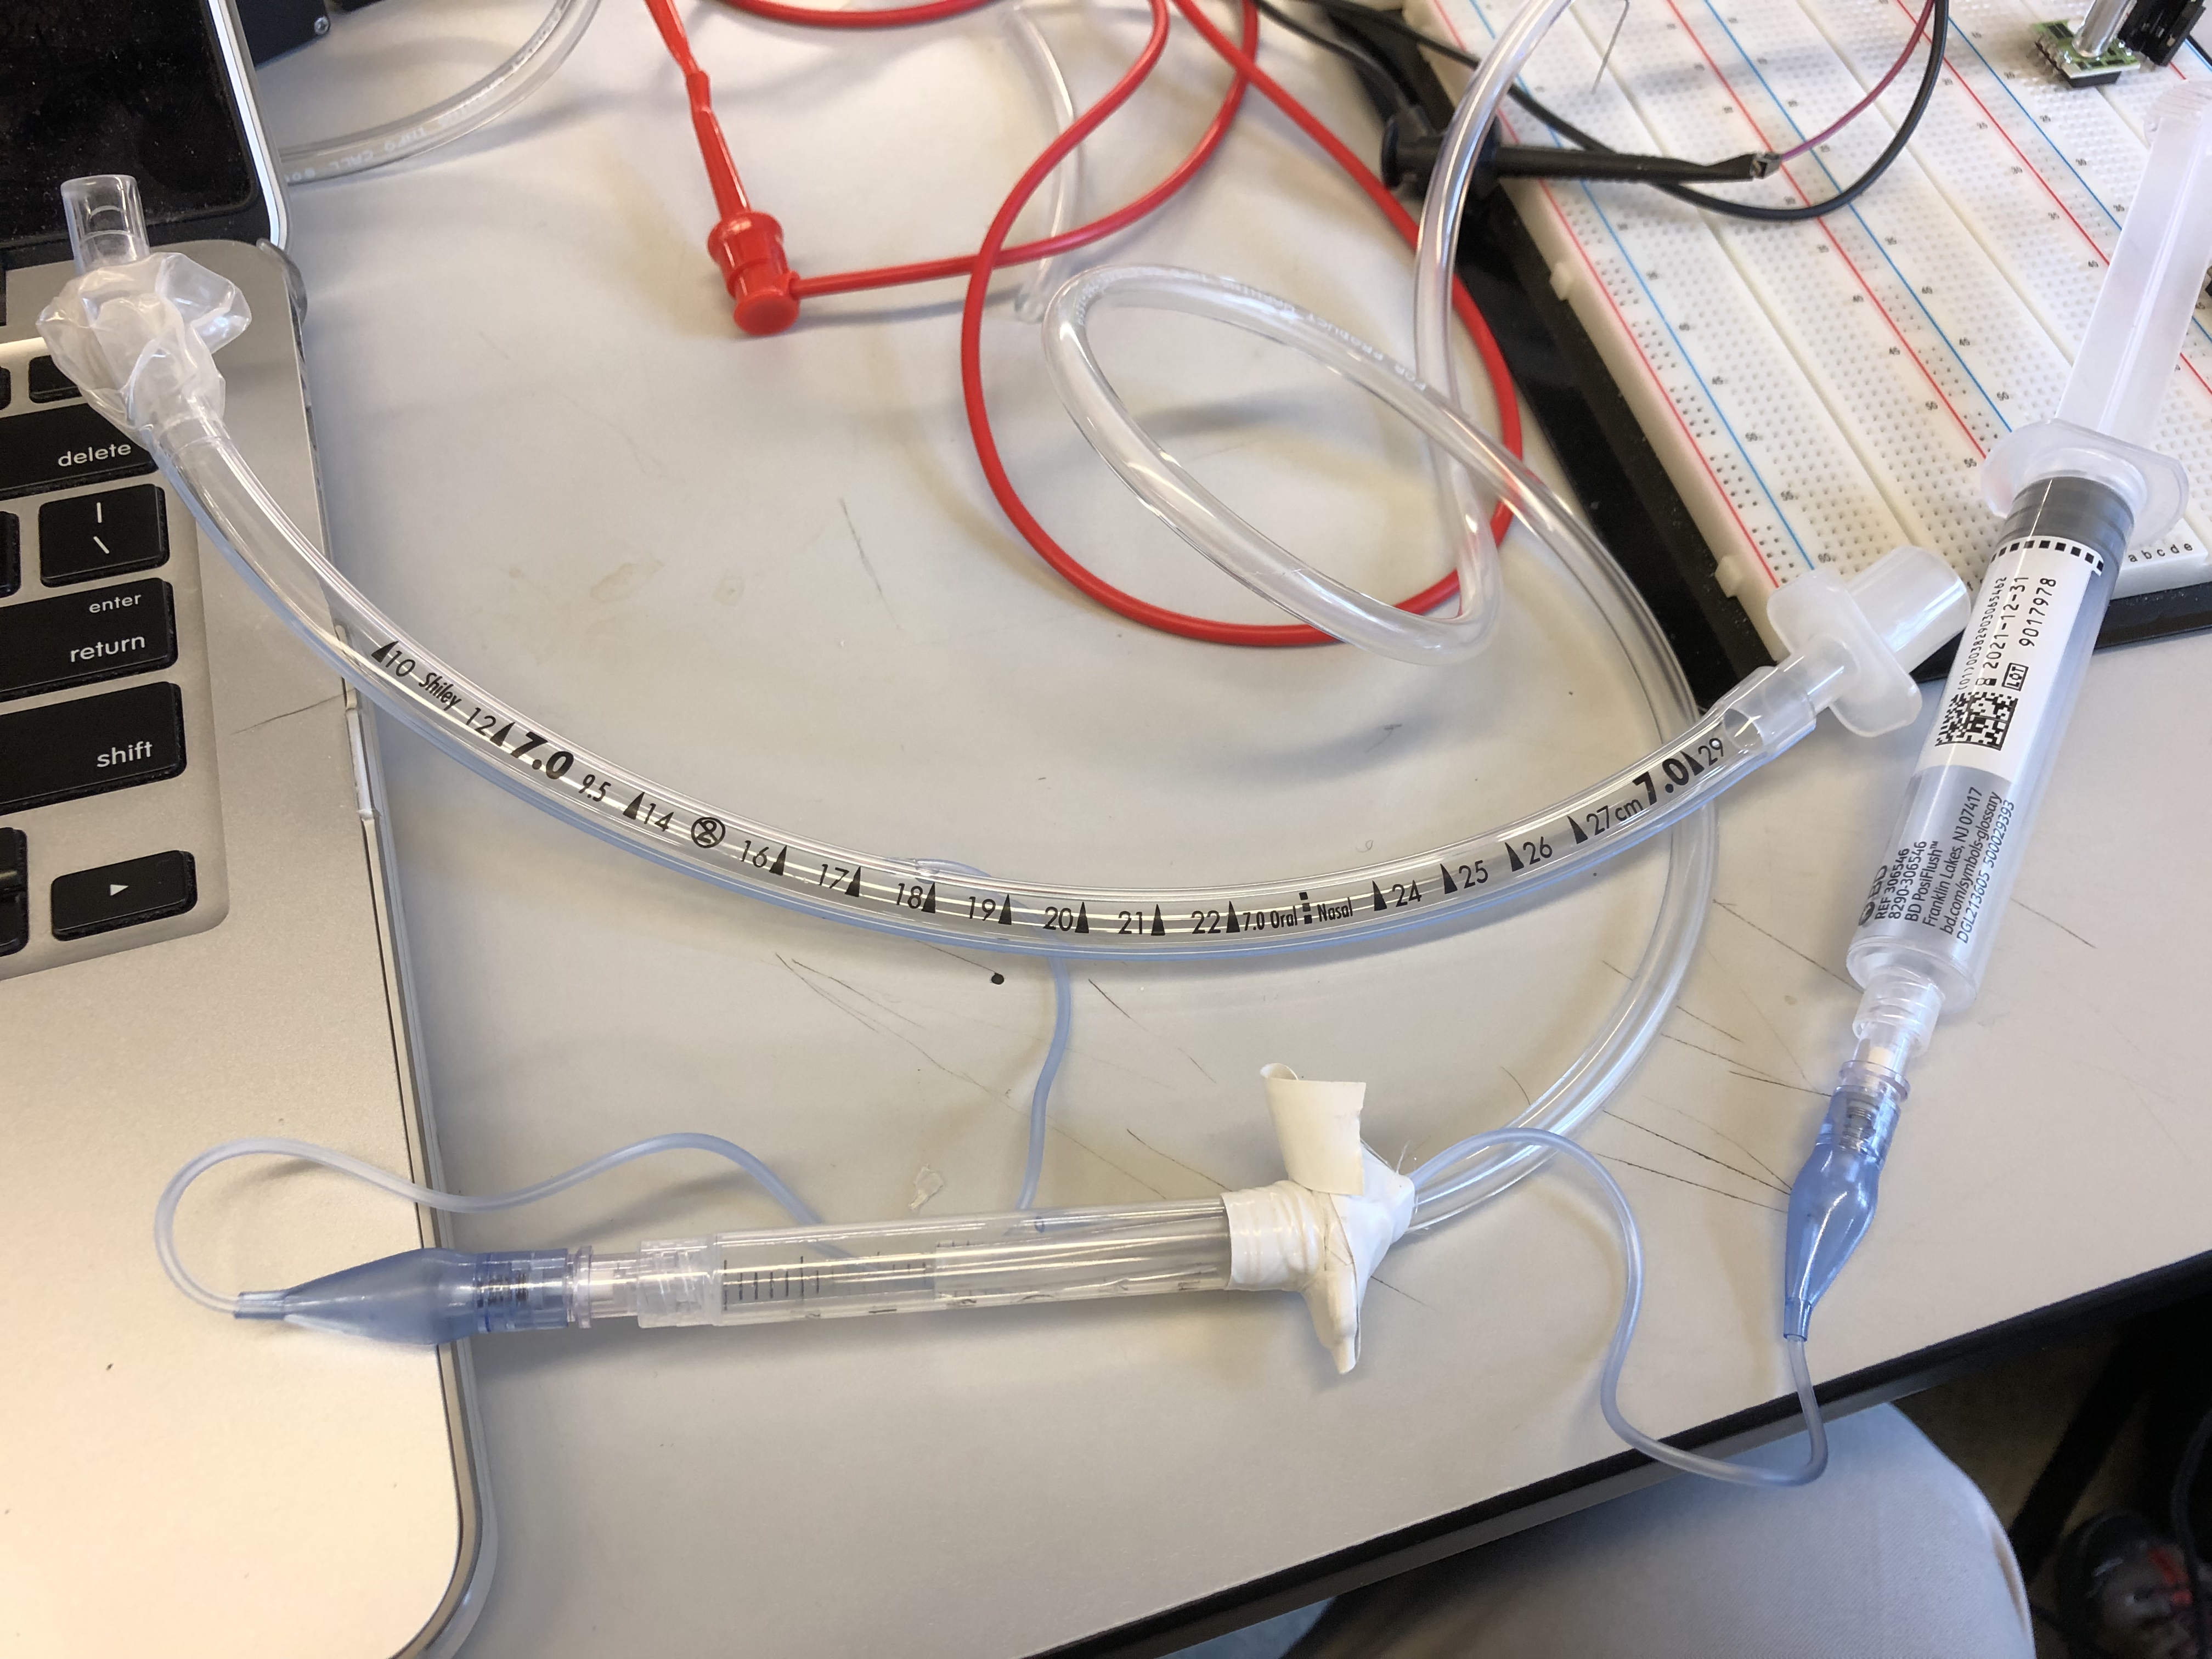 </li>
</ul>
</li>
</ul>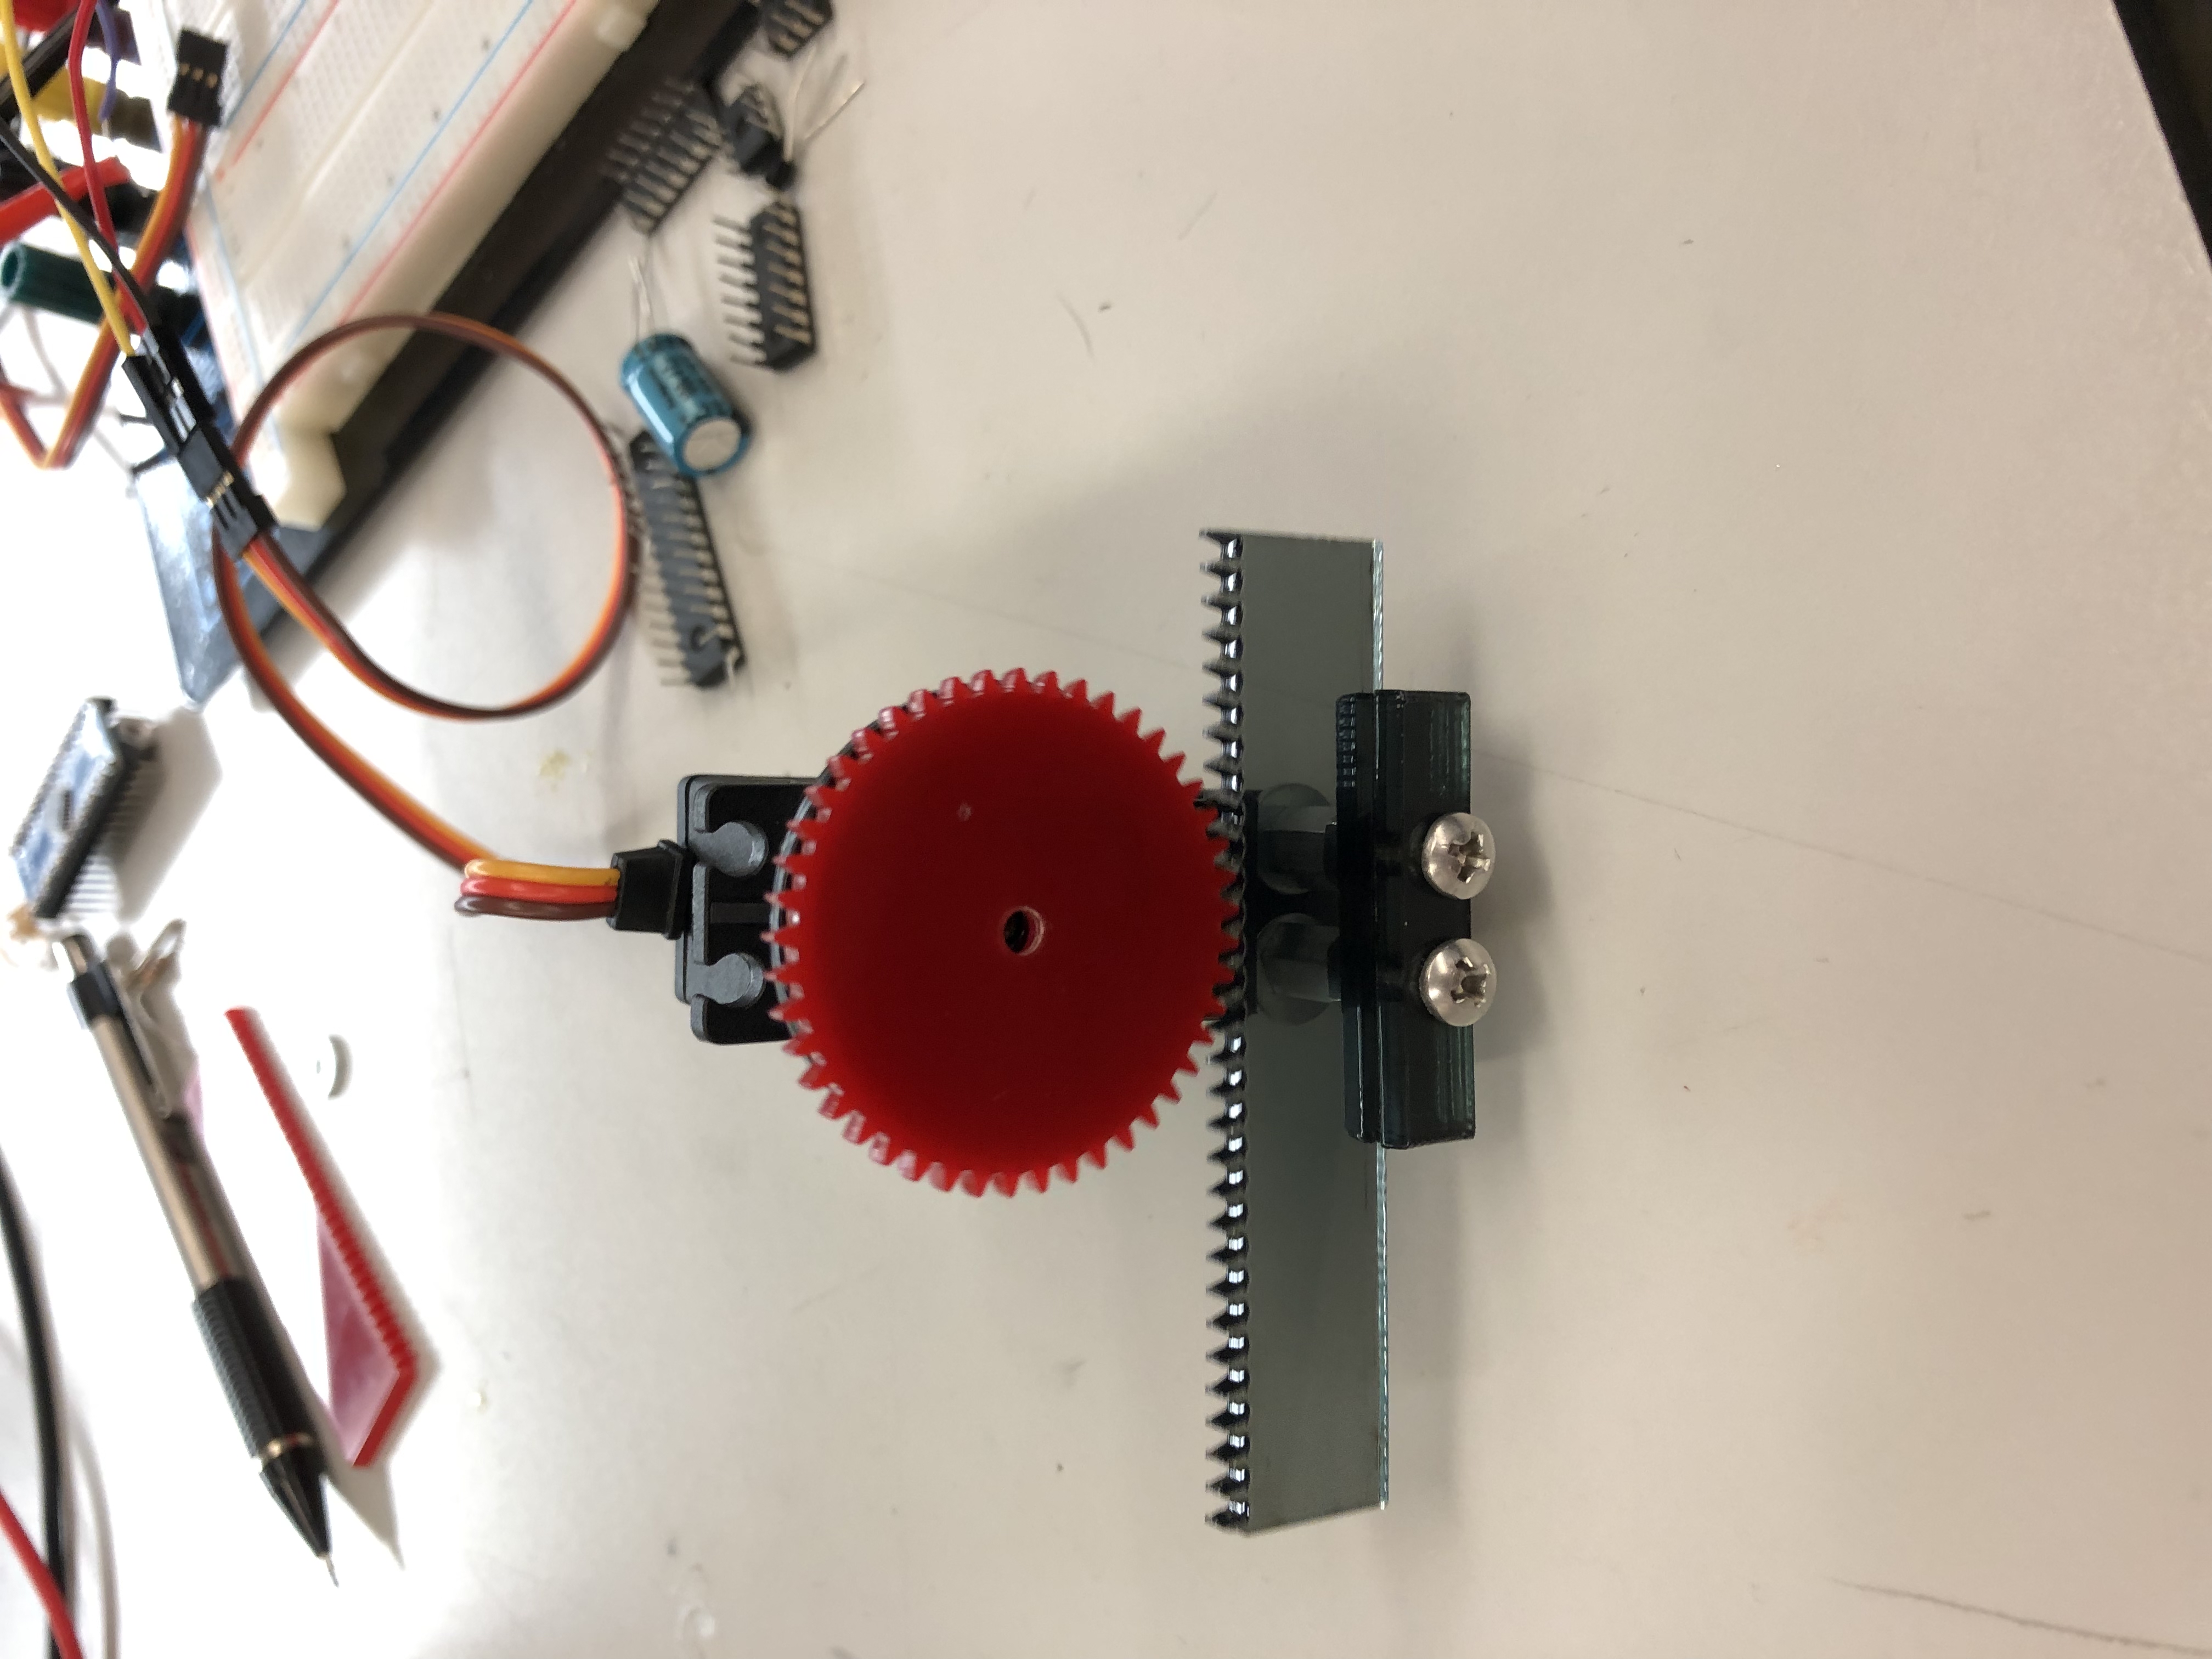 </li>
</li>